We have been thinking of gifting a play pretend kitchen set for LX's two
year old birthday. We are a big fan of wooden toys and furniture so
ideally we wanted something that is wooden and more sturdy. Somehow it
became a mini project for me to build my dream kitchen! It is such a big
item and we wasn't sure we have space to house this kitchen set but I'm
sure that we wanted her to have her very own kitchen set some day.
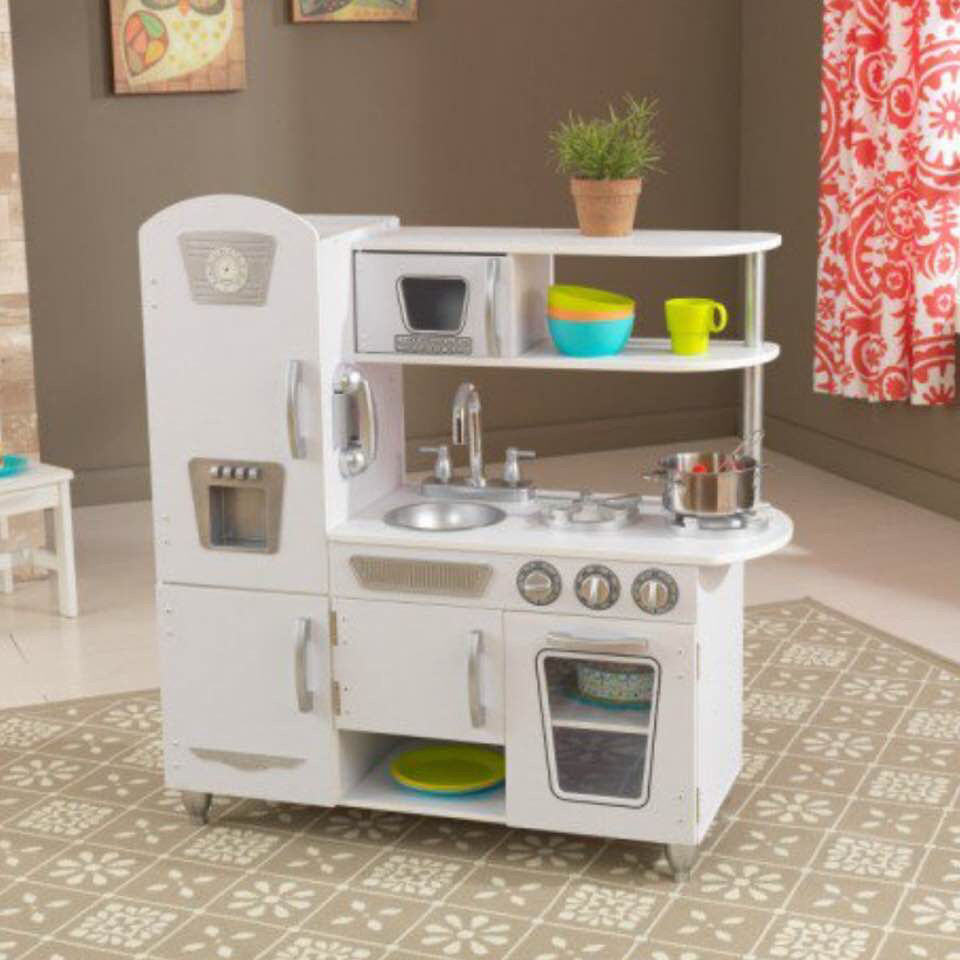
Pretty kitchen sets I have came across while researching on which to get.
Pretty kitchen sets I have came across while researching on which to get.


This is too cute! SMEG play pretend fridge from oh happy fry. I would like to own the real one in my house one day too.
#dayrehomes #dayremummies #DIY #dayremums


We bought it two week prior to her birthday and only had the time to spray and repaint it two days before her birthday.
Was pretty excited about it and the hub is actually game for it. He is
the one who went ahead to buy the kitchen set when I was still very
undecided if we should get it due to space constraints and at that point
we are also thinking of getting her a new bed. So we bought this before
the bed. lol. Had to reshuffled the furnitures in her room a little to
accommodate everything and I really hate clutter.
While I was away, the hub moved things and it became so inconvenient for
me to access to her wardrobe and drawers. I had to shift things around
and are damn happy to see that everything is back to where I wanted it
to be.

Frenchic furniture paint in ballet pink from some random contact online. Those office resellers do not carry the full range of colours and we made wasted trips. To buy it locally online, you have to pay hefty shipping fees. Such a dilemma and thankful the hub found this seller that is selling it from home which happens to be near my mum's place.
So I wasn't keen to use the spray paint because I remember how smelly
and toxic it was when we used it on our typewriter years back. I wanted
something that is all natural and safe for babies.
Are happy to find Frenchie paint which is all natural, environmental friendly chalk and mineral furniture paint which totally fits my criteria. I like that they have it in my fav pastel colors for selection too! Was torn between mint/white and pink/white, settled for the latter.
Are happy to find Frenchie paint which is all natural, environmental friendly chalk and mineral furniture paint which totally fits my criteria. I like that they have it in my fav pastel colors for selection too! Was torn between mint/white and pink/white, settled for the latter.


bye silver colour!

eventually the hubs use thinner to remove the spray and redo it again. he couldn't stand the unevenness.


i did a bad job at covering the front and he had to redo it himself. concluded that I'm better at commanding then doing. 😂


loving the colour. we had to wait for it to dry before spraying the second layer. the kaisu hub sprayed a total of three layers and made me walk to the nearest mall to get another bottle of spray which was totally unnecessary.

Thanks God for the good weather! I recalled the very next day it was raining heavily for the whole day.

we didn't get the professional brush since we reckon that it is going to be a one off kind of thing. tried using the sponge but it didn't work quite well, managed to find a brush which we used previously for painting our walls and it works.


nowadays social media is very powerful, a bit of dismay they might just snap a photo and upload to FB.

In the meantime, LX is happy with this and she is making me tea, cooking eggs and serving me cupcakes everyday. 😂
#winnieDIY #LXroom
No comments :
Post a Comment